Construction Time-Lapse: The Complete Guide
How to plan a construction time-lapse: capture interval by phase, camera placement, solar and 4G power, common mistakes, uses and what each option costs.
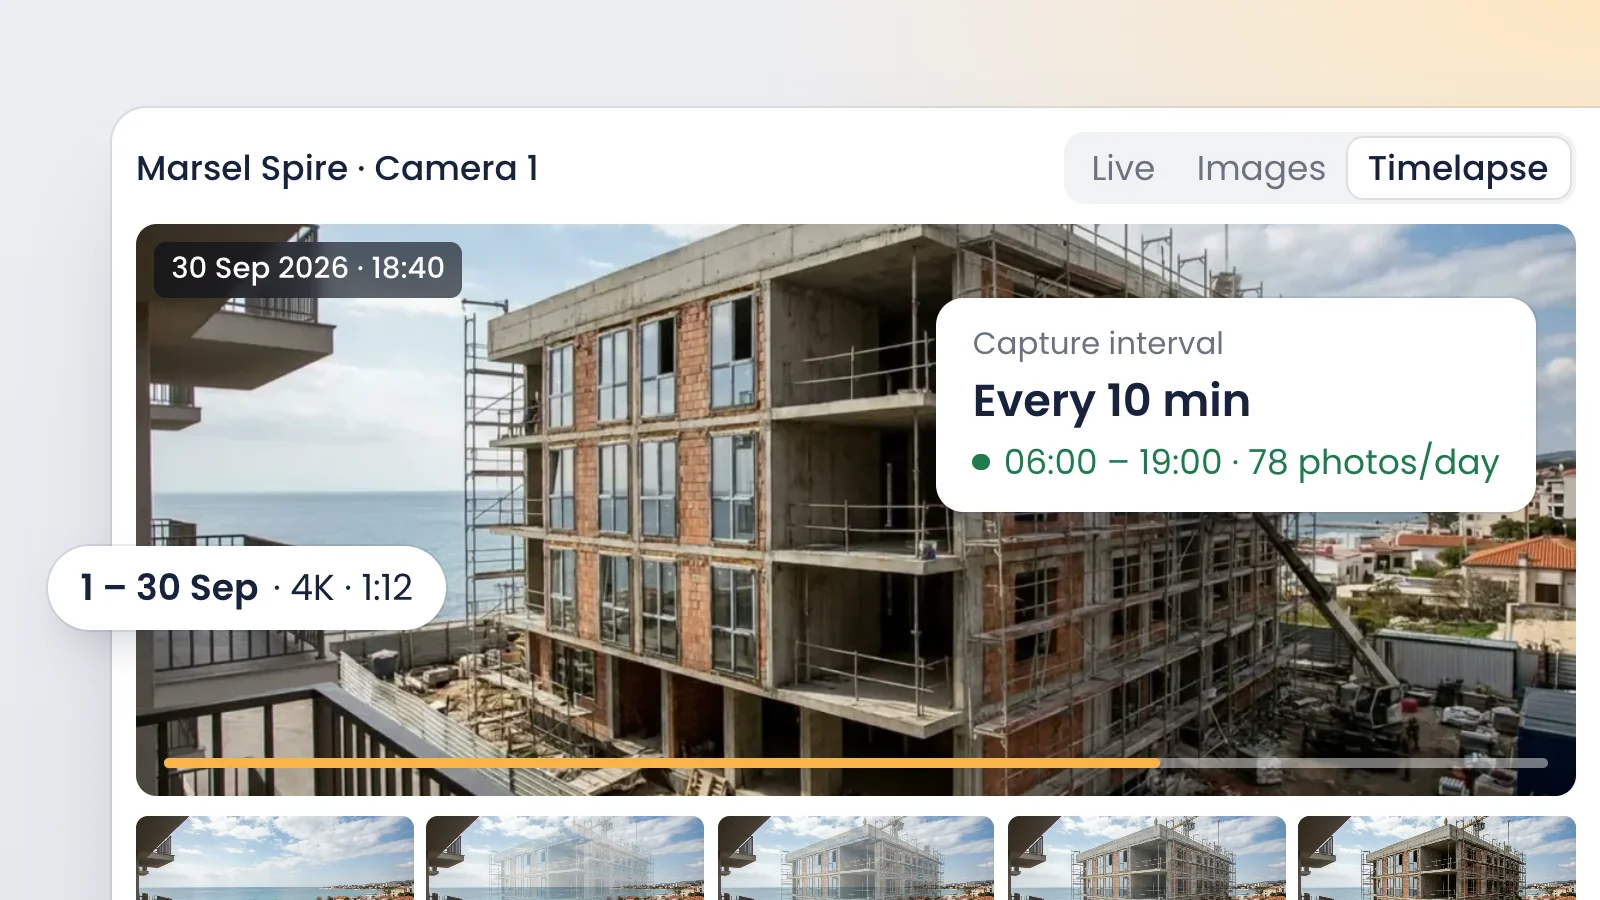
AI-generated images
A construction time-lapse comes from a fixed camera that takes a photo every few minutes from the same spot for the whole build. Getting it right comes down to three decisions: an interval matched to each phase, a position nothing will block, and reliable power and connectivity. The photos are then cut into a video a few minutes long.
What is a construction time-lapse?
A construction time-lapse is a video assembled from photos taken from one fixed position at regular intervals over weeks or months. Played back in sequence, the entire build fits into a few minutes. It documents progress, keeps a dated visual record and tells the project's story.
It is not the same as recording video. The camera keeps one frame every few minutes, but it keeps every one of them for the life of the project. That turns the time-lapse into a visual site diary: every image carries its date and time.
How often should the camera take a photo?
The faster the scene changes, the shorter the interval. Work it out backwards from the finished video.
At 25 frames per second, one minute of video needs 1,500 photos (at 30 fps, 1,800). One photo every 10 minutes over a 10-hour workday gives you 60 frames a day. Across a year of roughly 250 working days, that is 15,000 frames, or about 10 minutes of footage before you cut anything. That is plenty for a two-minute edit, with room to drop nights, rain days and idle days.
These are rules of thumb to start from, not standards:
Project type or phase | Typical interval | Why |
|---|---|---|
12 to 24-month building | 1 photo every 10-15 min during work hours | Daily change is visible and you have frames to spare |
Events that take hours (slab pour, crane erection, steel lift) | 5-60 s during the event | At 15 min the event would be a handful of frames |
Linear work (highway, rail, pipeline) | 5-15 min per camera | The work front moves, so relocating cameras matters more than the interval |
Utility-scale solar farm | 10-30 min | A wide, distant view where progress shows row by row |
Agricultural greenhouse | 2-10 min | Assembly takes weeks and the structure repeats |
Change the interval as the job moves through phases. Space it out during earthwork or interior finishes that the camera cannot see, and tighten it for structure or for any milestone you want to show in detail.
Where should you mount a jobsite camera?
Placement matters more than the camera. Check these before you mount it:
- Height and distance. Pick a high point, such as a neighboring building, a pole, the tower crane or the site trailer, that sees the whole lot and the finished massing. Leave sky above the final roof line.
- Sun direction. In the northern hemisphere (US, Canada, UK, Europe), avoid pointing the camera south, or the sun will cross the frame. In the southern hemisphere (Australia, New Zealand, South America), avoid pointing it north.
- What will grow. The crane, scaffolding, fence screening or the structure itself can block the view three months in. Frame for the finished building, not the empty lot.
- Stability. A mount that sways in the wind or with crane movement gives you a shaky video.
- Access. Someone has to clean the lens or move the camera without stopping work.
- Privacy. Keep public streets and neighbors' windows out of frame as far as you can.
On linear projects one camera is never enough. Put a camera at each key structure (a bridge, an interchange, a pump station) and relocate another as the front advances.
How long should the final video be?
It depends on who is watching. As a rule of thumb:
- Social media: 15 to 60 seconds, with the most striking moment first.
- Owner, investor or leasing presentations: 1 to 3 minutes, with logo, music and phase titles.
- Internal progress tracking: weekly or monthly clips that sit next to your construction progress report.
Power and connectivity: grid, solar and 4G
A camera that goes dark leaves gaps you can never recover. You have three power options:
- Site power. The most reliable, if there is a panel nearby. Watch out when the trailer is moved or the temporary service is swapped.
- Solar panel with battery. The default for highways, pipelines, solar farms, farmland or any spot without grid power. Size the panel and battery for short, cloudy winter days, not for summer.
- Batteries. Fine for simple standalone cameras. Runtime depends heavily on the interval: Brinno, for example, rates its TLC2020 at up to 99 days at a 5-minute interval on lithium AA batteries.
For connectivity, an offline camera writes to a memory card: you will not know it failed until someone climbs up to collect it. A 4G (LTE) camera uploads to the cloud and lets you see the jobsite right away. Check cellular coverage at the exact mounting point first.
Common construction time-lapse mistakes
- Glare and backlight. Low sun burns out the image at sunrise and sunset. Fix it with orientation and capture hours.
- Framing too tight. The building grows out of the top of the frame.
- Obstructions. Cranes, laydown areas, trailers or a tree that leafs out in spring. Check the frame every month.
- Flicker. Brightness jumps between frames from exposure changes or passing clouds. It has to be corrected in the edit.
- A bumped camera. One knock shifts the frame and the video jumps.
- Dirty lens. Dust, rain spots and concrete splatter can haze weeks of footage.
- Gaps. Flat battery, full card or no signal, with no alert. You lose weeks.
- Starting late. If the camera arrives after excavation starts, you miss the existing conditions, which is your baseline image.
What is a construction time-lapse used for?
- Progress tracking. The GC, the owner's rep or the architect sees a week or a month in minutes, without a site visit.
- Evidence in disputes. Dated photos show when work was done, which days were lost to weather and what condition an area was handed over in.
- Marketing and communication. A developer uses it to sell units, a public agency to keep residents informed, a renewables developer to show investors a finished plant.
How much does a construction time-lapse cost?
Option | How you pay | What you get | What you do |
|---|---|---|---|
Standalone camera, no platform | Buy the hardware | Photos on a card and a basic video | Mount it, collect cards, edit |
Local time-lapse production company | Per-project quote | The finished, edited video | Little, but no real-time access |
Platform with a connected camera | Monthly fee per camera or module | Live view, online photos, videos on request | Almost nothing |
Some platforms publish their rates. Checked in October 2026, TrueLook lists plans from $99 to $599 per month depending on plan and billing, and myTikee (Enlaps) charges €39 to €52 per camera per month for its Capture plan, excluding tax, with the camera bought separately. VisionHub publishes its prices per module, excluding VAT, in the pricing calculator.
If you are still choosing hardware, see our guide to construction camera types and cost.
How VisionHub automates the construction time-lapse
VisionHub is a visual monitoring and remote management platform for construction sites, infrastructure and assets. Specialist partners install the 4G camera, and from then on VisionHub's time-lapse generation runs on its own:
- You set the capture frequency for each project phase, and it adjusts if the schedule changes.
- The platform discards faulty images, removes flicker, stabilizes the footage and corrects color.
- You preview the time-lapse in real time and filter by date to pull weekly, monthly or whole-project clips.
- You request the video from the platform, choose length, pace and style, and add a logo, music and title cards.
- You export it in formats ready for reports or social media.
Every image stays online with its date and time, in the browser, with nothing to install. Users per project are unlimited, so the owner, the design team and marketing all see the same thing. To put two dates side by side, photo comparison does it with a slider.
For example, a contractor building 4 km of pipeline puts a camera at each key crossing and pulls a monthly clip from each one for the owner meeting. A developer with three projects uses the same footage for progress tracking and, at handover, for the sales video. You will find more by project type under industries.
Frequently asked questions
How many photos do I need for one minute of time-lapse?
At 25 frames per second, one minute of video takes 1,500 photos; at 30 fps, 1,800. With one photo every 10 minutes over a 10-hour workday, you collect that many in about five working weeks. Capture more than you need, because nights, rain days and idle days will be cut.
Can I run a time-lapse on a site with no power or Wi-Fi?
Yes. Without grid power, use a solar panel with a battery or a battery-powered camera. Without Wi-Fi, a 4G camera sends photos over the cellular network. Check coverage at the exact mounting point first, and size the power system for winter, when there are fewer hours of sun.
When should the camera go up?
Before earthwork starts, and ideally before clearing or demolition. That first image of the existing site is the baseline for the whole video and also a record of preconstruction conditions. A camera that shows up after excavation has already missed the beginning of the story, and that frame cannot be recreated.
Can a time-lapse be used as evidence in a claim?
Dated photos are a solid documentary record: they show when each activity happened and under what conditions. How much weight they carry depends on the case, on the integrity of the record and on who holds it. Keep the original images with their timestamps, and talk to your legal counsel.
Conclusion
A good construction time-lapse is decided before the first frame: where the camera goes, how often it shoots in each phase and how it stays powered. After that it is about consistency, and a platform saves you site visits, gaps and hours of editing. To see what it would look like on your project, book a VisionHub demo or estimate the cost in the pricing calculator.